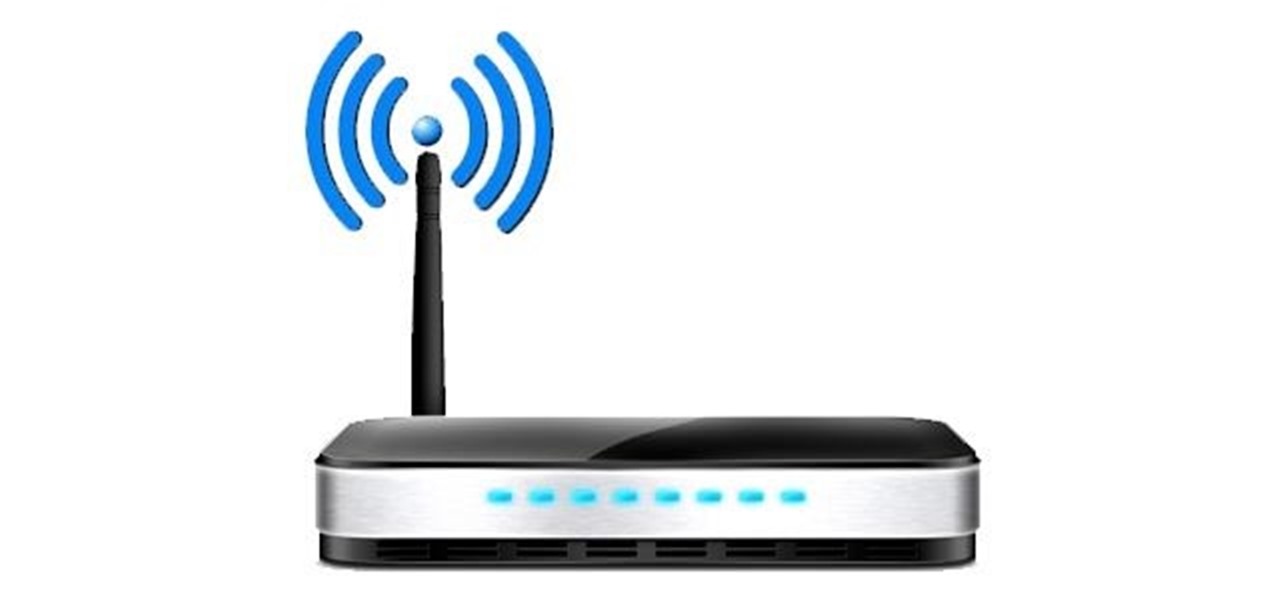
Setting up a wireless router can be tricky, especially if you are using a DSL connection. Some DSL connections are not always-on, and due to this connecting your wireless router will differ from other services in this regard. This can be difficult to manage.
Follow these 4 easy steps and you will be online in no time.
Step 1 – Wireless Router Setup
Make sure your current DSL connection is disconnected and your computer is powered down. Unplug the DSL modem power cable. Now connect the wireless modem to the DSL modem. A CAT 5 network cable is most often used for this. The cable will connect the routers Internet port and the modems Input port. The correct port on the router will be labeled something similar to Internet, WAN, or WLAN. This first step allows your DSL modem to receive wireless signals, convert them and send them through the Internet. Plug the DSL modem and wireless router in and power them up.
Step 2 – Connect Your Computer
If your PC or laptop already has a wireless card set up, then this step is not needed and you should skip ahead to Step 3.
Connect your wireless adapter to your PC or laptop. This device could be a computer card or USB device depending on which type you purchased. If the device is a card and you do not feel comfortable opening up your computer to connect it, it might be wise to purchase a USB wireless adapter. They are more common and for the most part priced the same or even less expensive. They are certainly easier to install. Once the USB device or card is plugged into the appropriate port power up the computer.
You will be prompted to install the hardware drivers for the new wireless adapter. Place the disk that came with the adapter in your CD/DVD drive and install the drivers. If for some reason you do not have the disk you will need to connect to the Internet via a wired connection (i.e. another CAT5 cable) and let windows search for the correct driver. This is a fast process and you would be hard pressed to find a wireless adapter that Windows doesn't recognize.
Once the drivers are installed the adapter will automatically detect nearby wireless networks. If there is more than one, you will be prompted to choose from a list of possible networks. Your network will most likely be named whatever the brand name of your wireless router is. If your router is a Linksys, then choose the network named Linksys, and so on. You have yet to set up any security on your router so your network will also be listed as unsecured.
Step 3 – Configure Your Router
Open a browser and type in the address (IP) of the router you purchased. The address, as well as any username/password information will vary between brands, but this information is always contained in the documentation that came with the device. This information is also available online on the individual product websites. Here is the information listed for four top brands:
D-Link – Username: admin, Password: <none> Address: http://192.168.0.1/
3Com – Username: admin, Password: admin, Address: http://192.168.1.1/
Netgear – Username: admin, Password: password, Address: http://192.168.0.1/
Linksys – Username: admin, Password: admin, Address: http://192.168.1.1/
Motorola– Username: admin, Password: admin, Address: [http://52.38.193.131/
Now you have the configuration page open to your router and you need to make a few changes. First set up a unique password so your router can't be reconfigured by anyone else. Now go to the Wireless Security tab of your router. You need to select a type of wireless encryption your network will use. Most routers offer WEP (Wired Equivalency Privacy) and WPA (Wi-Fi Protected Access). WPA is a more recent protocol and is considered by many to be superior. If you have no preference choose WPA. After selection you will be asked to enter a WPA password to generate keys. When you do a series of characters will be generated by the router. This is the key you need to get a computer on your wireless network. Save the key on a disk so you don't have to rewrite it for each computer as it will be long.
Step 4 – Rename Your Network
Your network has name, referred to as a SSID (Service Set Identifier). It is wise to change this name to something unique that you will be able to identify when you are connecting computers to your network. Remember your neighbors will be able to see your network's SSID so keep that in mind when naming it.


Be the First to Respond
Share Your Thoughts